If you’re a creator, it’s only natural that you’d want to spend most of your time doing what comes best—creating. Fretting about video distribution to the right communities shouldn’t be on your to-do list.
Fortunately, automation can help. With a single Zap—Zapier’s automated workflows—you can automate sharing your latest YouTube videos with your engaged Discord community, removing your least-favorite task from your publishing to-do list. Here’s how.
New to Zapier? It’s workflow automation software that lets you focus on what matters. Combine user interfaces, data tables, and logic with thousands of apps to build and automate anything you can imagine. Sign up for free.
Is there a Discord embed for YouTube videos?
There isn’t a Discord embed for YouTube videos, but you can upload video files from your computer in a channel or DM following Discord’s instructions. You can upload files up to 25 MB unless you’re a Nitro subscriber, which allows you up to 500 MB.
If you want to share videos directly from YouTube, you can just paste a link to your video in a channel or DM, which will share a preview image of your video. When someone clicks on the link, it will take them directly to your YouTube video. To make it even easier to share YouTube videos right when you post them, you can use the Zapier workflow below to connect YouTube to Discord automatically, so every time you upload a new video, a message is posted in Discord with that link.
How to automatically share YouTube videos in a Discord channel message
Zapier lets you create automated workflows called Zaps, which send your information from one app to another. You can create your own Zap from scratch without any coding knowledge, but we also offer quick templates to get you started.
If you’d like to start with a template, click on it below, and you’ll be taken to the Zap editor. You’ll need to create a Zapier account if you don’t already have one. Then, follow the directions below to set up your Zap.
Set up your YouTube trigger
Let’s start with the trigger—the event that starts your Zap. If you’re using the Zap template, this will be selected for you. Otherwise, search for and select YouTube as the trigger app and New Video In Channel as the trigger event, then click Continue.

Connect your YouTube account, if you haven’t already, then click Continue.
Next identify which YouTube channel you want Zapier to watch for new videos by adding the appropriate YouTube channel ID to the Channel field.
A channel ID is a string of characters that’s different from a YouTube URL, username, or channel name. To find one for your own account, head to YouTube’s Advanced Account Settings page and copy the channel ID from there. For any public YouTube channel, you can use a service like Comment Picker to find the channel ID for any account.

After adding the channel ID, click Continue.
Now it’s time to test your trigger step. The data collected in your test will be used to test up the rest of your Zap. You’ll need to have at least one video on your YouTube channel to run your test. If you don’t have a video in your account, upload one now before you test your trigger step.
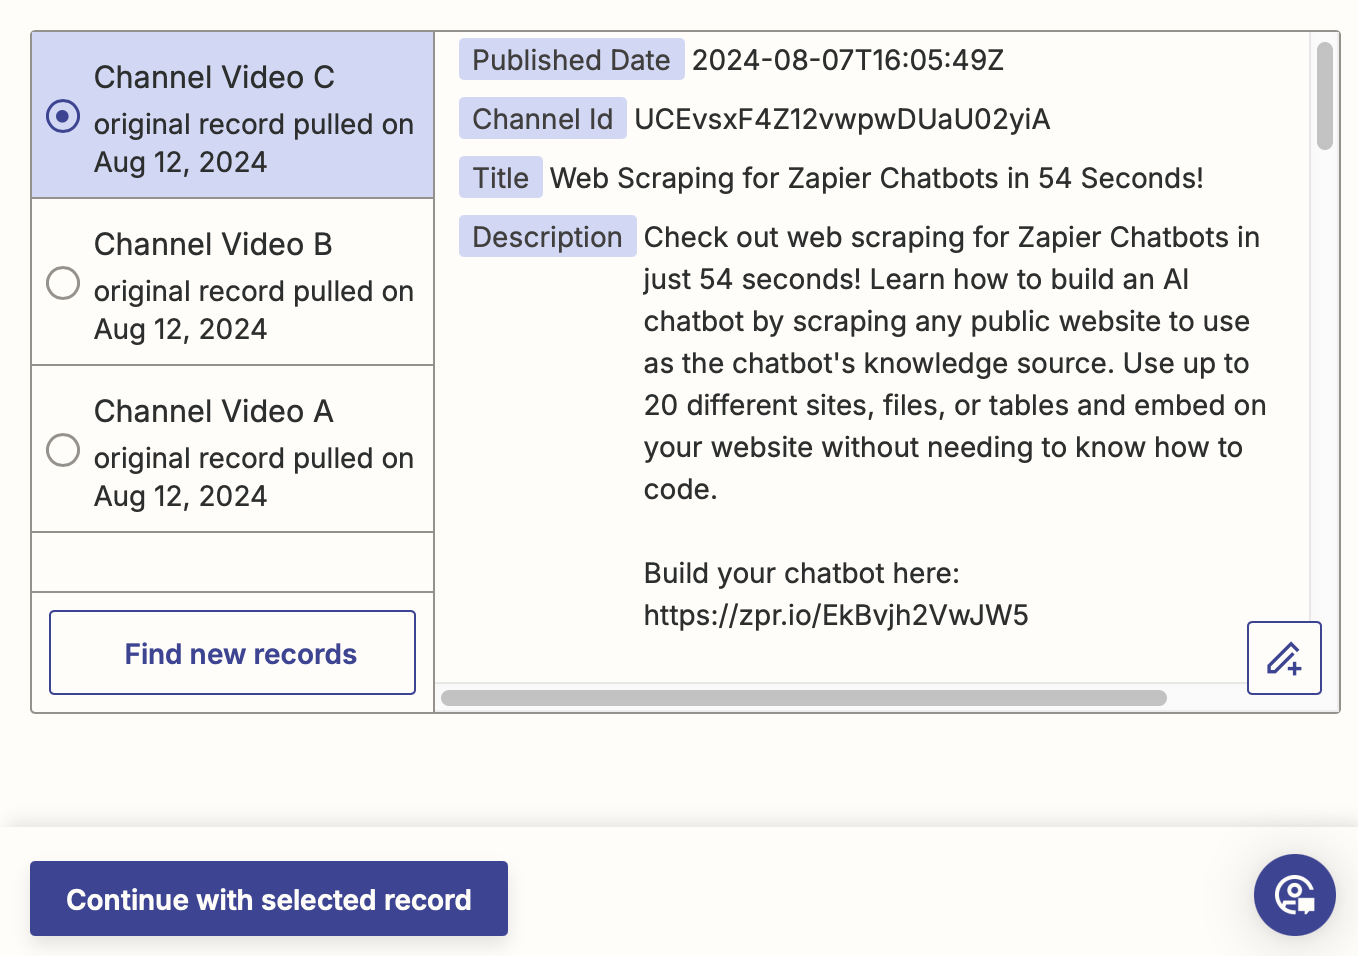
When you’re ready, click Test trigger. Zapier will automatically show the three most recent videos. Take your pick, and click Continue with selected record to run your test.
Set up your Discord action
Now it’s time to set up the action—the event your Zap will perform once it’s triggered. If you’re using the Zap template, these will already be selected for you. Otherwise, search for and select Discord as your action app and Send Channel Message as your action event. Click Continue.

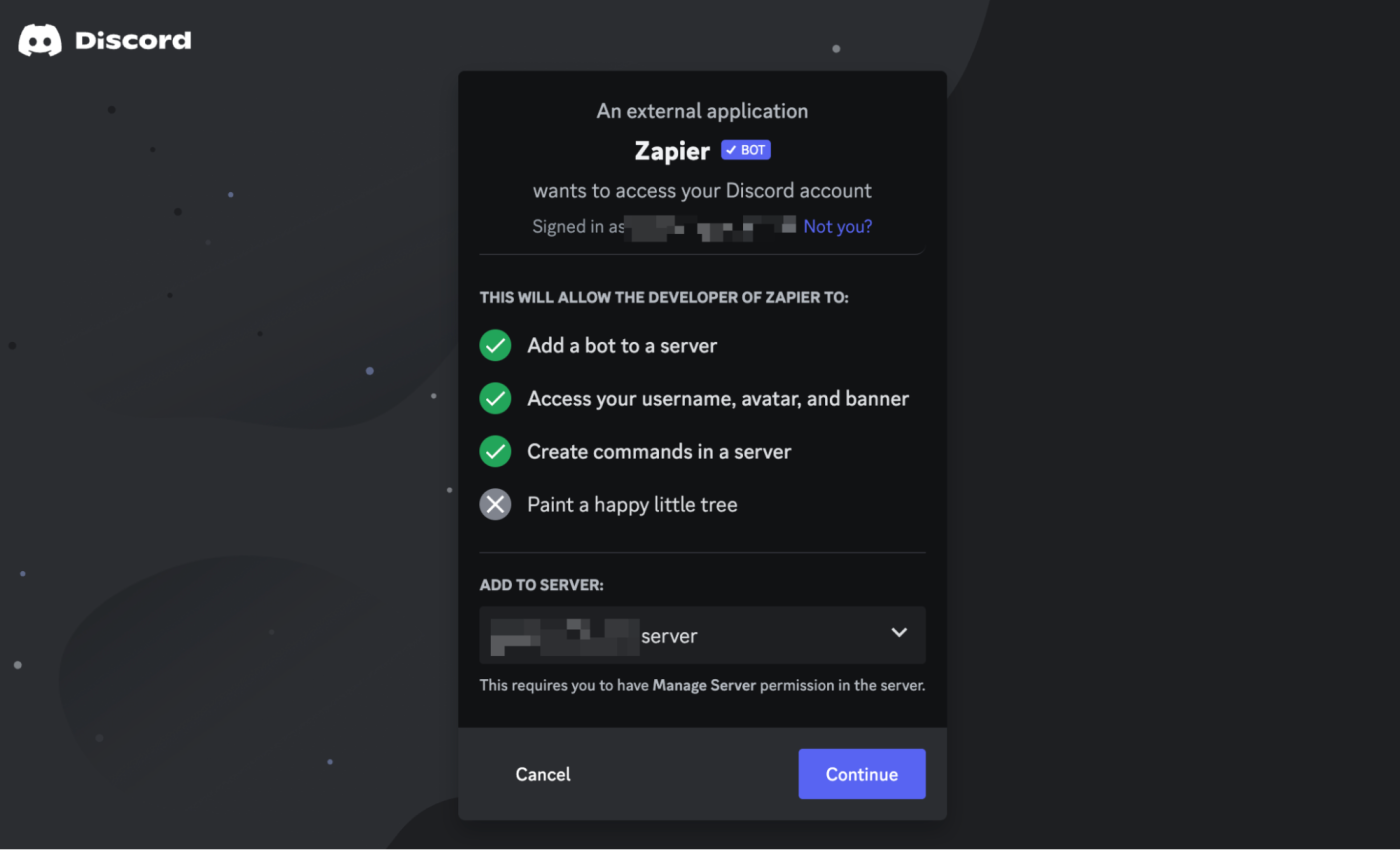
Next, connect your Discord account, if you haven’t already. If you’re adding your account for the first time, you’ll need to choose the server you want to connect, and give Zapier permission to access your Discord account. Then click Continue.
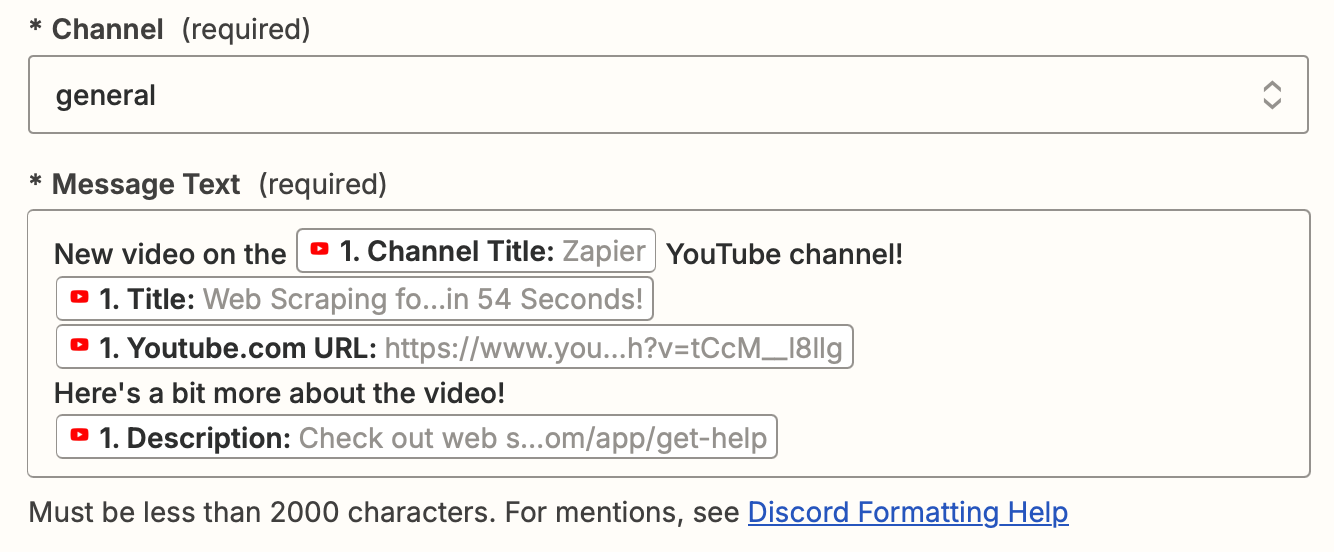
Now it’s time to customize your message. First, choose where you want to send the message in the Channel field.
If you’re using the Zap template, Zapier will automatically populate the Message Text field with video details like the channel name, video title, and YouTube URL. Change the text as much as you like by typing in the text field. You can add additional data from your previous YouTube step, like the publishing time, description, or embed link, by clicking in the field and selecting items from the Insert Data dropdown.
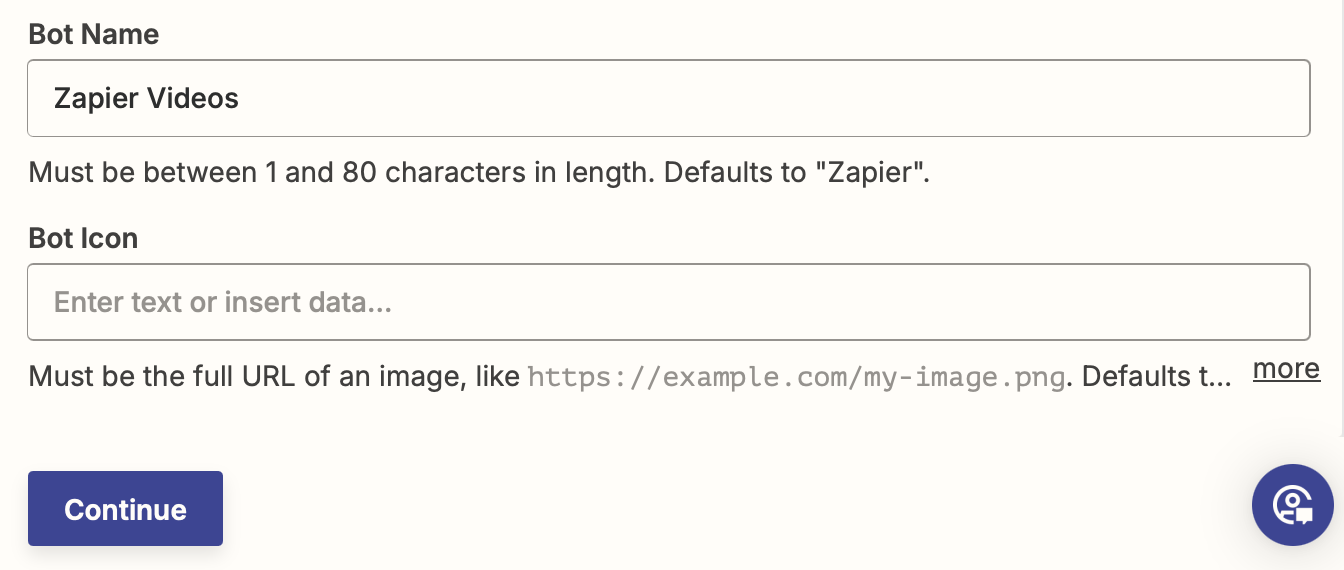
You’re also free to customize the Bot Name (by default, this will be called “Zapier Bot”) and Bot Icon (using an image link) if you’d like.
Once you’re done setting up your action step, click Continue.
Next, test your action step by clicking Test action. If your test is successful, you should see the latest YouTube video correctly added to the Discord channel.
You can also check your Discord channel to make sure everything is formatted correctly. Here’s what it looked like in our channel.
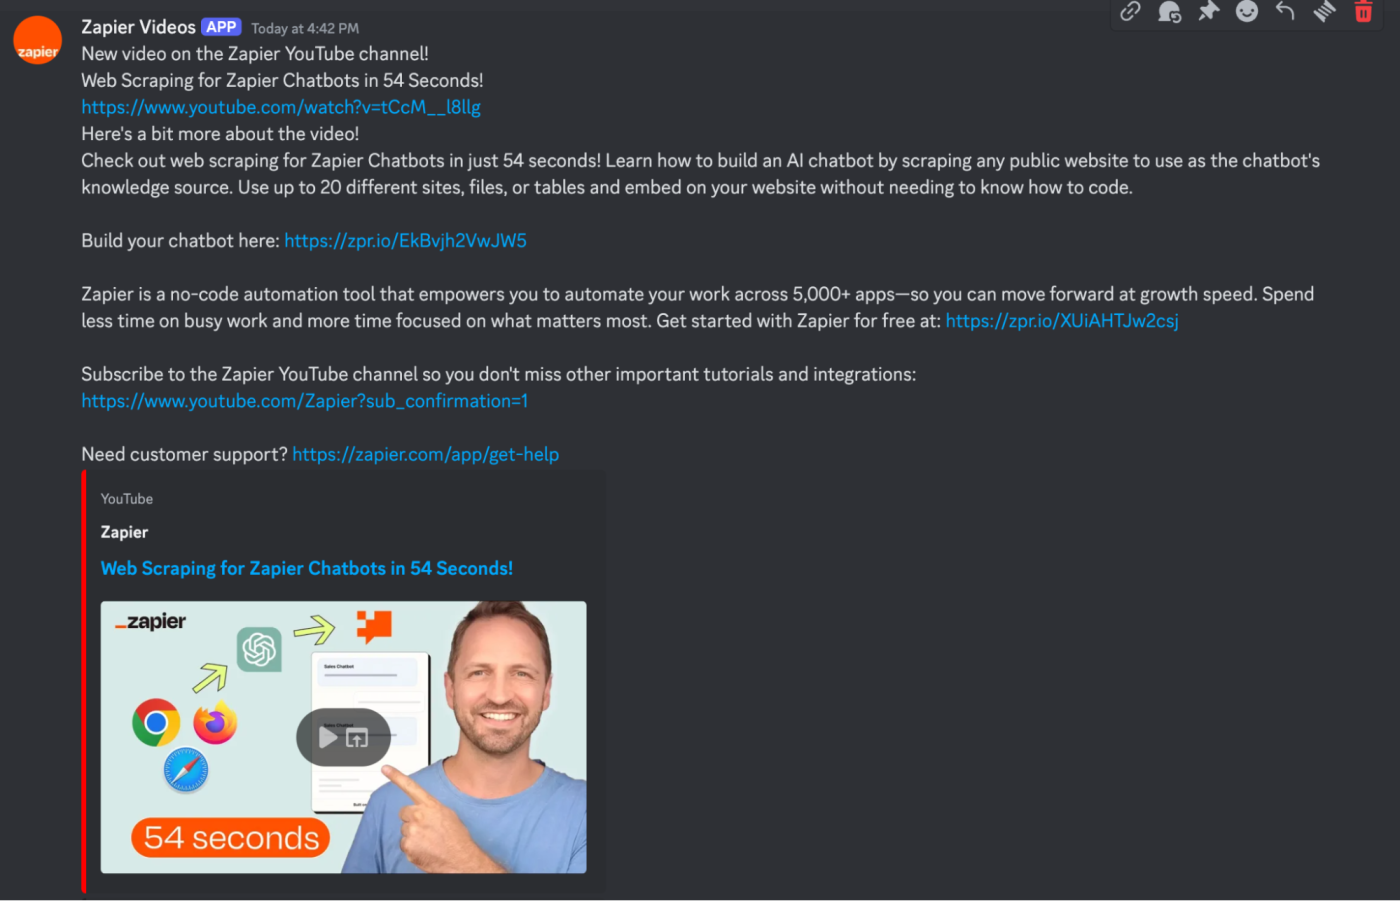
If everything looks right, your Zap is now ready to use. Now every time a new video is uploaded to the selected channel, it will automatically show up in the Discord channel of your choice with all the important details.
This article was originally published in July 2023. It was most recently updated in August 2024.