Messy processes aren’t just a headache, they can grind your business to a halt.
To create one-of-a-kind systems for your business, you need to visualize how your workflows, apps, and people fit under the same roof. Mapping this out on a simple flowchart can help you see where you are, what’s missing, and what’s next.
We built Canvas, an AI-powered diagramming tool, to break down those walls for you.
Table of contents
What is Canvas?
Zapier Canvas is a free AI-powered diagramming tool that helps you visualize, plan, and automate business-critical processes. With Canvas, you can easily create a bird’s eye view of how your Zaps, apps, data, and teammates tie into a specific process.
You might have a set process to gather leads, for example. Once a lead has signed up to your services, maybe you’ll want to assign them a sales rep or send them an automated email sequence.
Canvas lets you outline the big picture, capturing every step (and every app) along the way—from the first touchpoint to the last.
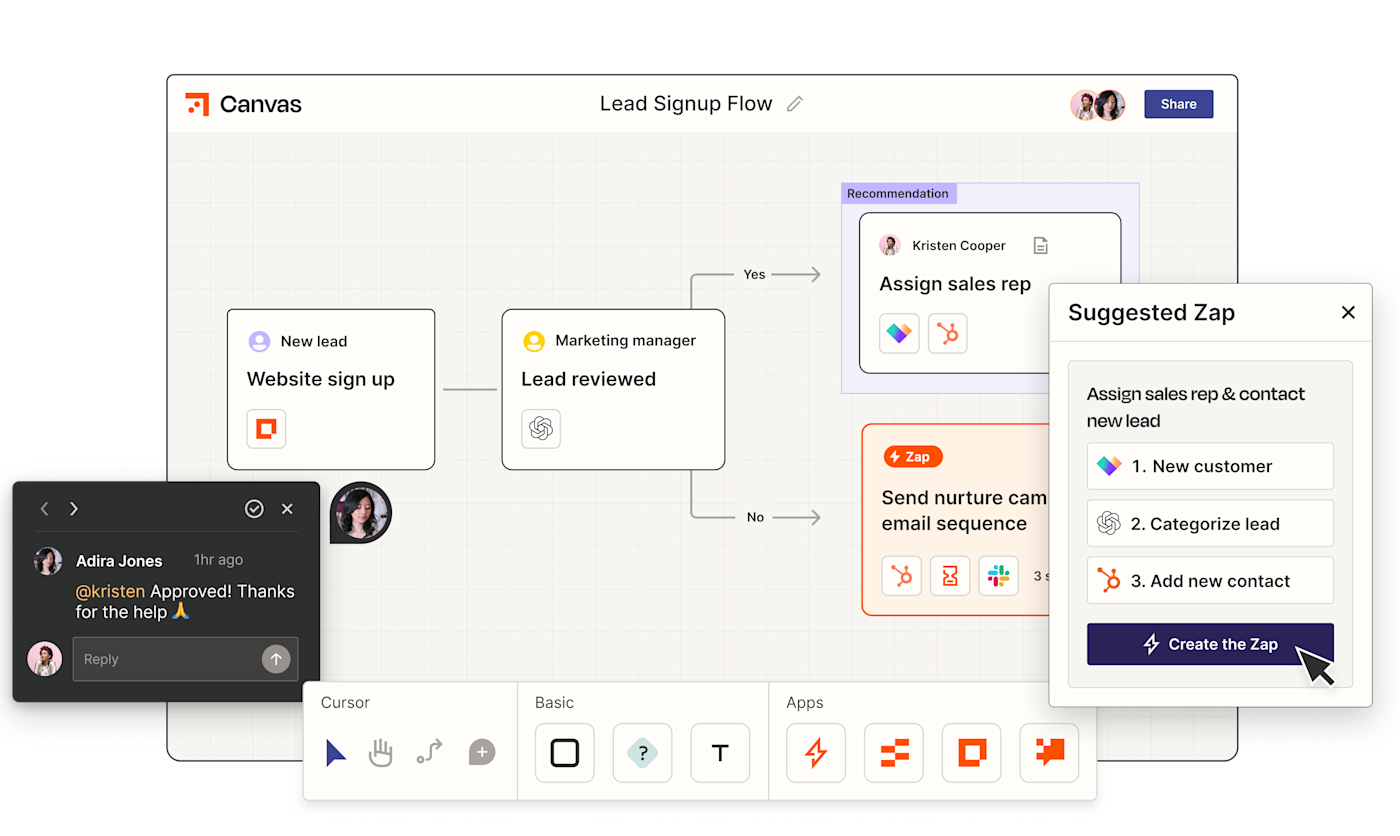
You can plan new processes, optimize existing ones, and share them with your team. Canvas is built for collaboration, so you can add comments, tag the right people, and fine-tune each process together.
Then—and this is key—once you and your team have agreed on a framework, you can immediately transform your plan into an automated solution in the same spot. And if you get stuck, Canvas can give you AI-powered recommendations on what to create next or build draft Zaps for you.
Key Canvas features include:
-
Default steps for actions that depend on a person or team to be completed.
-
Automated steps to add new or pull in existing Zaps to your canvas.
-
Split paths that lead to different scenarios, depending on the results of a previous step.
-
App steps that allow you to pre-select a Zapier product, with options for Zaps, Tables, Chatbots, and Interfaces.
-
Grouped nodes to organize steps and Zaps into separate categories, so you can better understand complex workflows.
-
Rich text options to enhance the presentation and readability of text and headers within your canvas.
-
AI-powered recommendations that review the existing steps and suggest Zaps that could automate parts of the process.
-
Sharing options so you can collaborate with your team on developing a process and share with stakeholders to get buy-in.
Why we love it
“We built Canvas to address the gap in visualizing and managing comprehensive systems that extend beyond singular Zaps, Tables, or Interfaces. It enables users to streamline business-critical processes, enhance collaboration, and optimize operations.”
Amanda Baker, Senior Product Manager at Zapier
Canvas isn’t just for visualization, or automation—though it achieves both. It’s a way to centralize complex workflows and foster a culture of transparency and innovation within organizations.
As an example, one of Zapier’s product managers uses Canvas to document how they collect user insights for Zapier products.
“I have 8 Zaps, an Interface, and a Table that work together to feed insights from all our channels (email, slack, interview notes) into a centralized insights hub. This canvas has helped my teammates understand how the process works and inspired other teams to implement similar processes.”
What you can do with Canvas
While your business is unique, and each of your processes will depend on your own individual needs, you might use Canvas to plan and document:
Your lead capture process
You want to capture leads from your website, assign sales reps, and track conversions.
What this might look like:
-
A lead submits their details via a form you’ve set up with Interfaces.
-
That lead is automatically sent to a Zapier table via a Zap.
-
Your Marketing team manually reviews the lead in the table to determine if the lead is low-touch. If that lead requires direct engagement, the team presses a button in the table that alerts the sales team in Slack.
-
A Zap then triages the lead and automatically drafts an email.
-
Finally, the sales team can then send that email via HubSpot.
-
If, however, the lead requires minimum interaction to convert, you can make use of a split path, and this route automatically signs the lead up for a nurture email series.

Your customer support
You want to route tickets, send emails, and solve issues.
What this might look like:
-
A customer submits a ticket via the customer support portal you’ve built with Interfaces.
-
A Zap automatically sends the ticket to Zendesk and uses AI to come up with a solution based on your existing company documentation.
-
That Zap then sends this answer to your support team in Slack to manually review it. The support team can then trigger a Zap to send that AI-generated solution to the customer via email, or draft a message to request more information.
-
Once resolved, the support team can close the ticket in Zendesk and trigger a Zap that sends that customer a feedback form.

Your onboarding process
You want to request time off, approve team budgets, and onboard new employees.
What this might look like:
-
When a new employee is added to your HR system, a Zap sends their details to a dedicated Zapier table, which includes a checklist of onboarding tasks tailored to their role.
-
The HR team can then review this table and trigger a Zap that sends these onboarding tasks to the new employee’s Asana board.
-
This same Zap then sends a welcome email to the new hire, providing them with an overview of the onboarding schedule and a link to their Asana tasks.
-
Once the employee marks the tasks as completed, a Zap updates this in the Zapier table.

From building out drip emails to approving team budgets, Canvas can power your business no matter the use case.
How to get started with Canvas
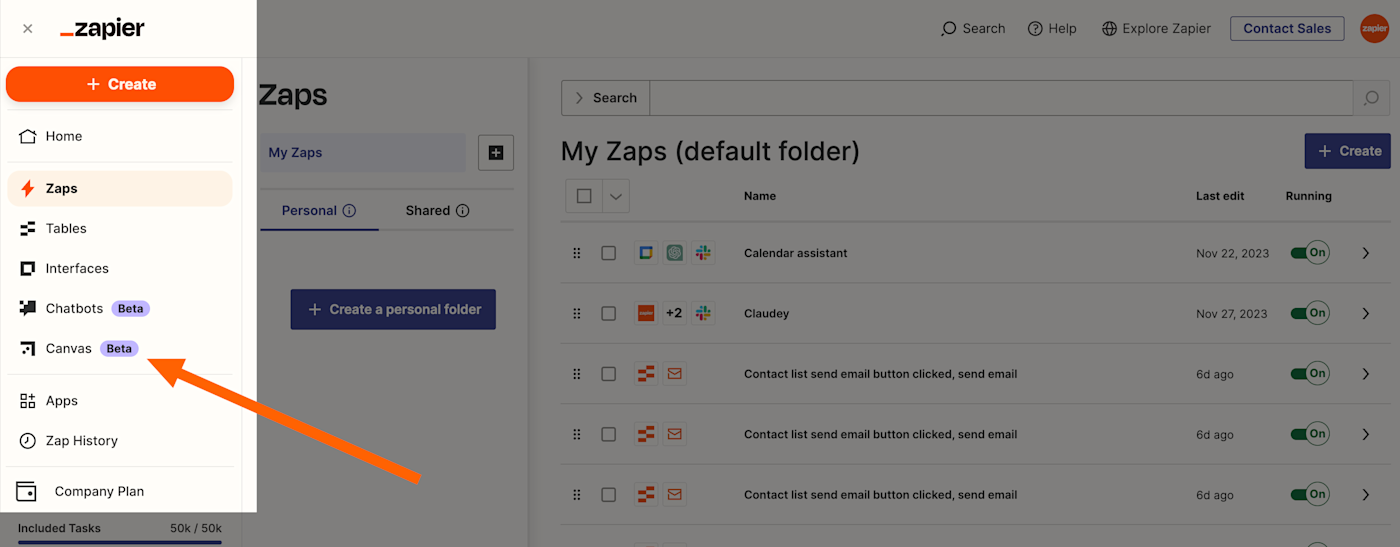
1. Once logged into your Zapier account, you can access Zapier Canvas from the left-hand menu or by visiting your Canvas dashboard.
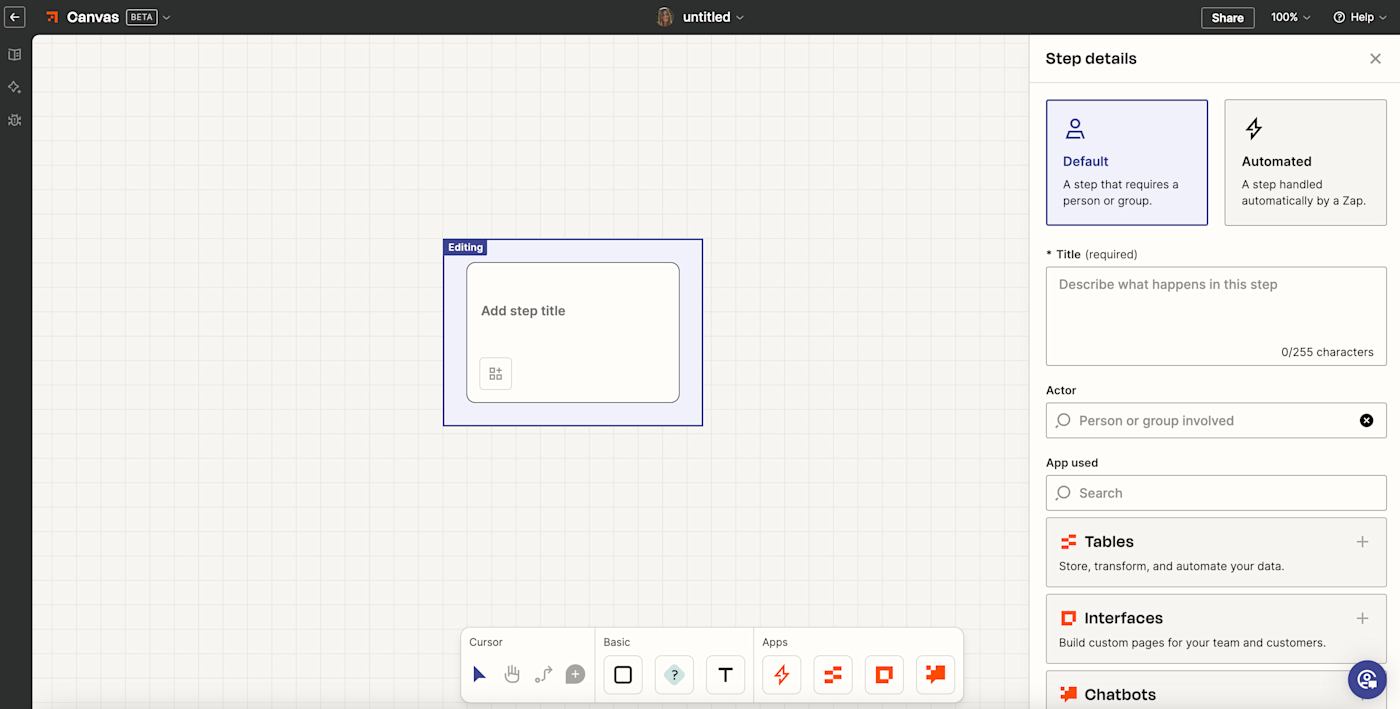
2. Click + Create. The first step will be displayed on your canvas screen. Click the step to open the Step details sidebar.
3. Add new steps or split paths by clicking the +plus icon next to an existing step.
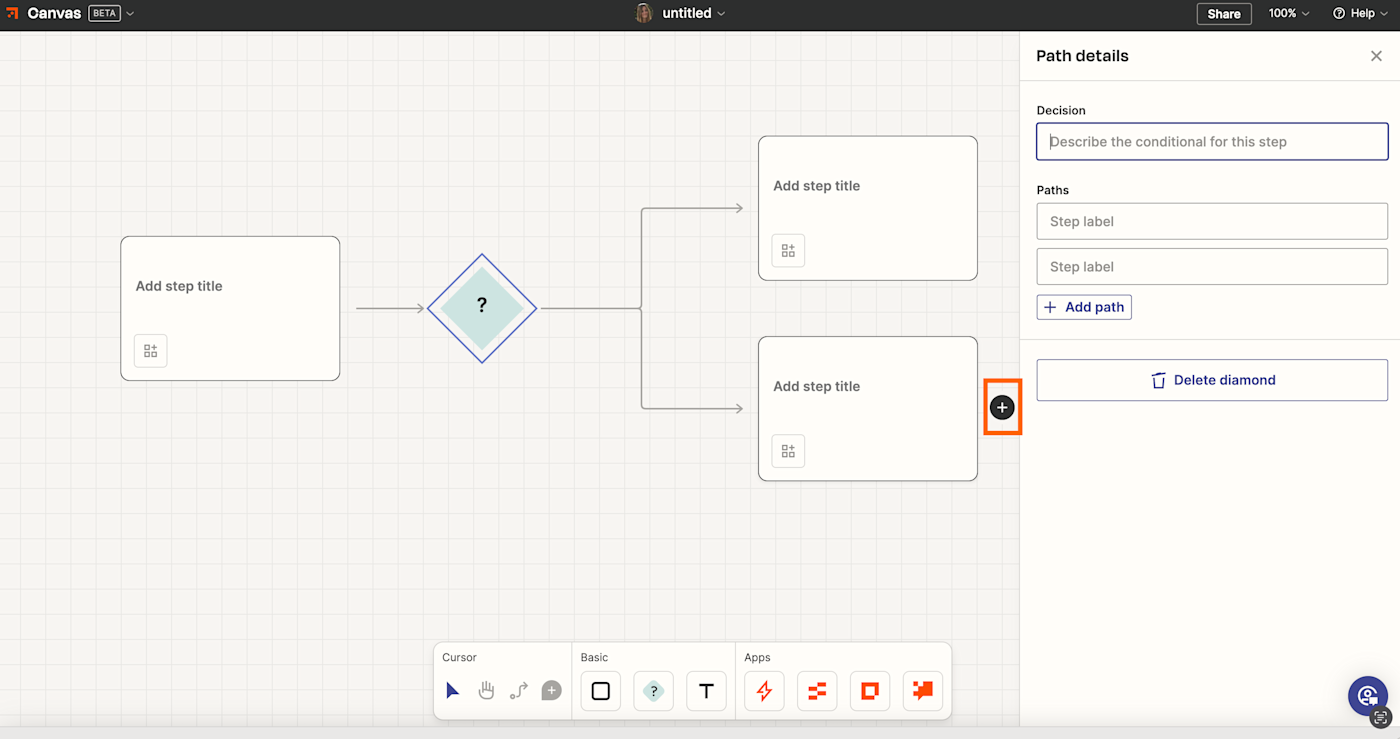
4. Connect existing steps with the Connector tool icon. You can also move steps with the Select or Hand tool.
5. To add text, click the Text icon at the bottom of the canvas. Click anywhere on the canvas to place the box, and enter your text.
6. Use the zoom controls at the top-left of the screen to zoom in and out and to fit the process to the page.
7. Clean up the layout with the Clean up layout button to straighten connectors and order steps.
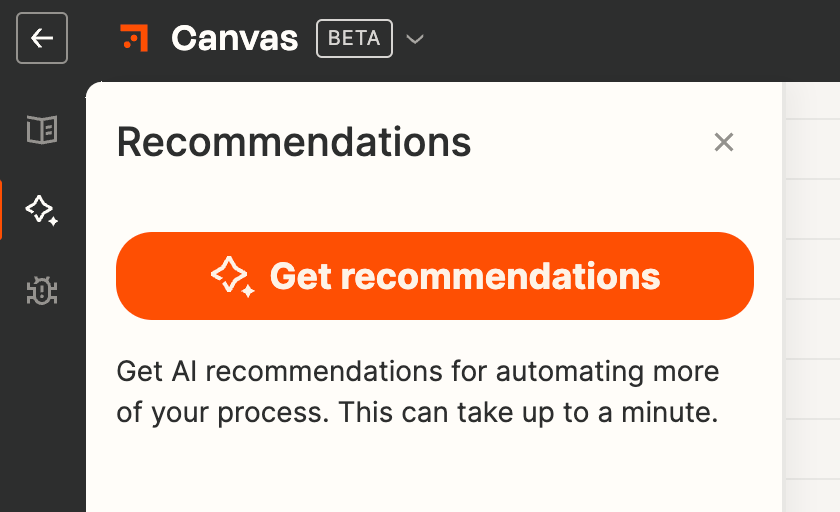
8. If you’d like AI-powered recommendations, click on the canvas background to display the summary panel on the left side of the screen, then click Get recommendations.
9. Share your canvas with your team so you can add comments and tag users.
Need more help? Read our Zapier Canvas quickstart guide for step-by-step instructions on creating your first canvas.
Use Canvas to power your business processes
Zapier Canvas gives you the AI-powered building blocks to visualize, plan, and automate processes that power your business.
Ready to try it out yourself? Give it a go and start powering your business today.
This guide was originally published in March 2024. It was most recently updated in June 2024.